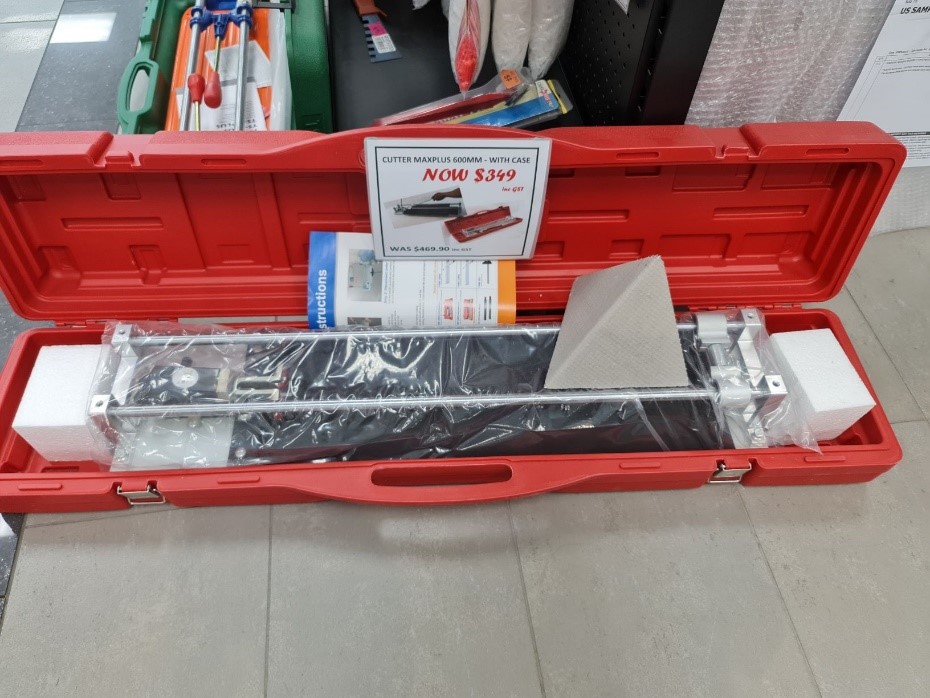
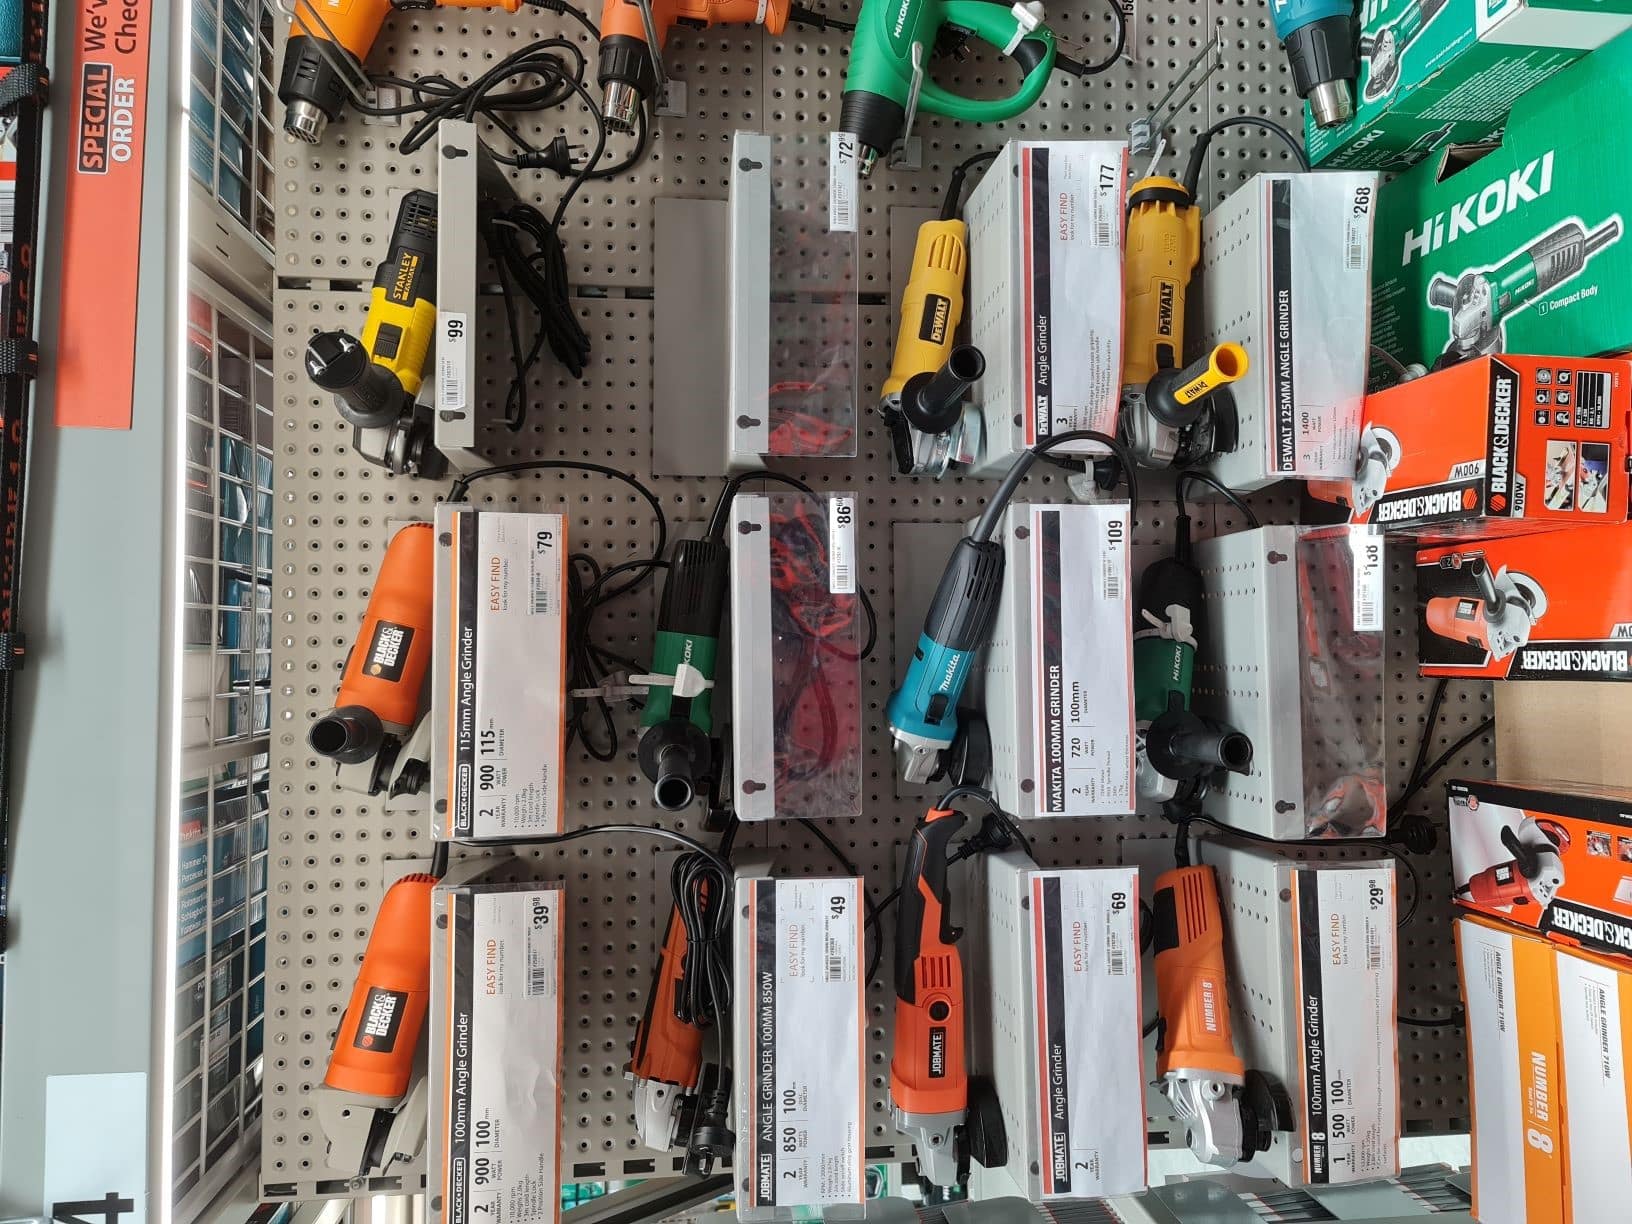
necessary equipment to ensure a competent job
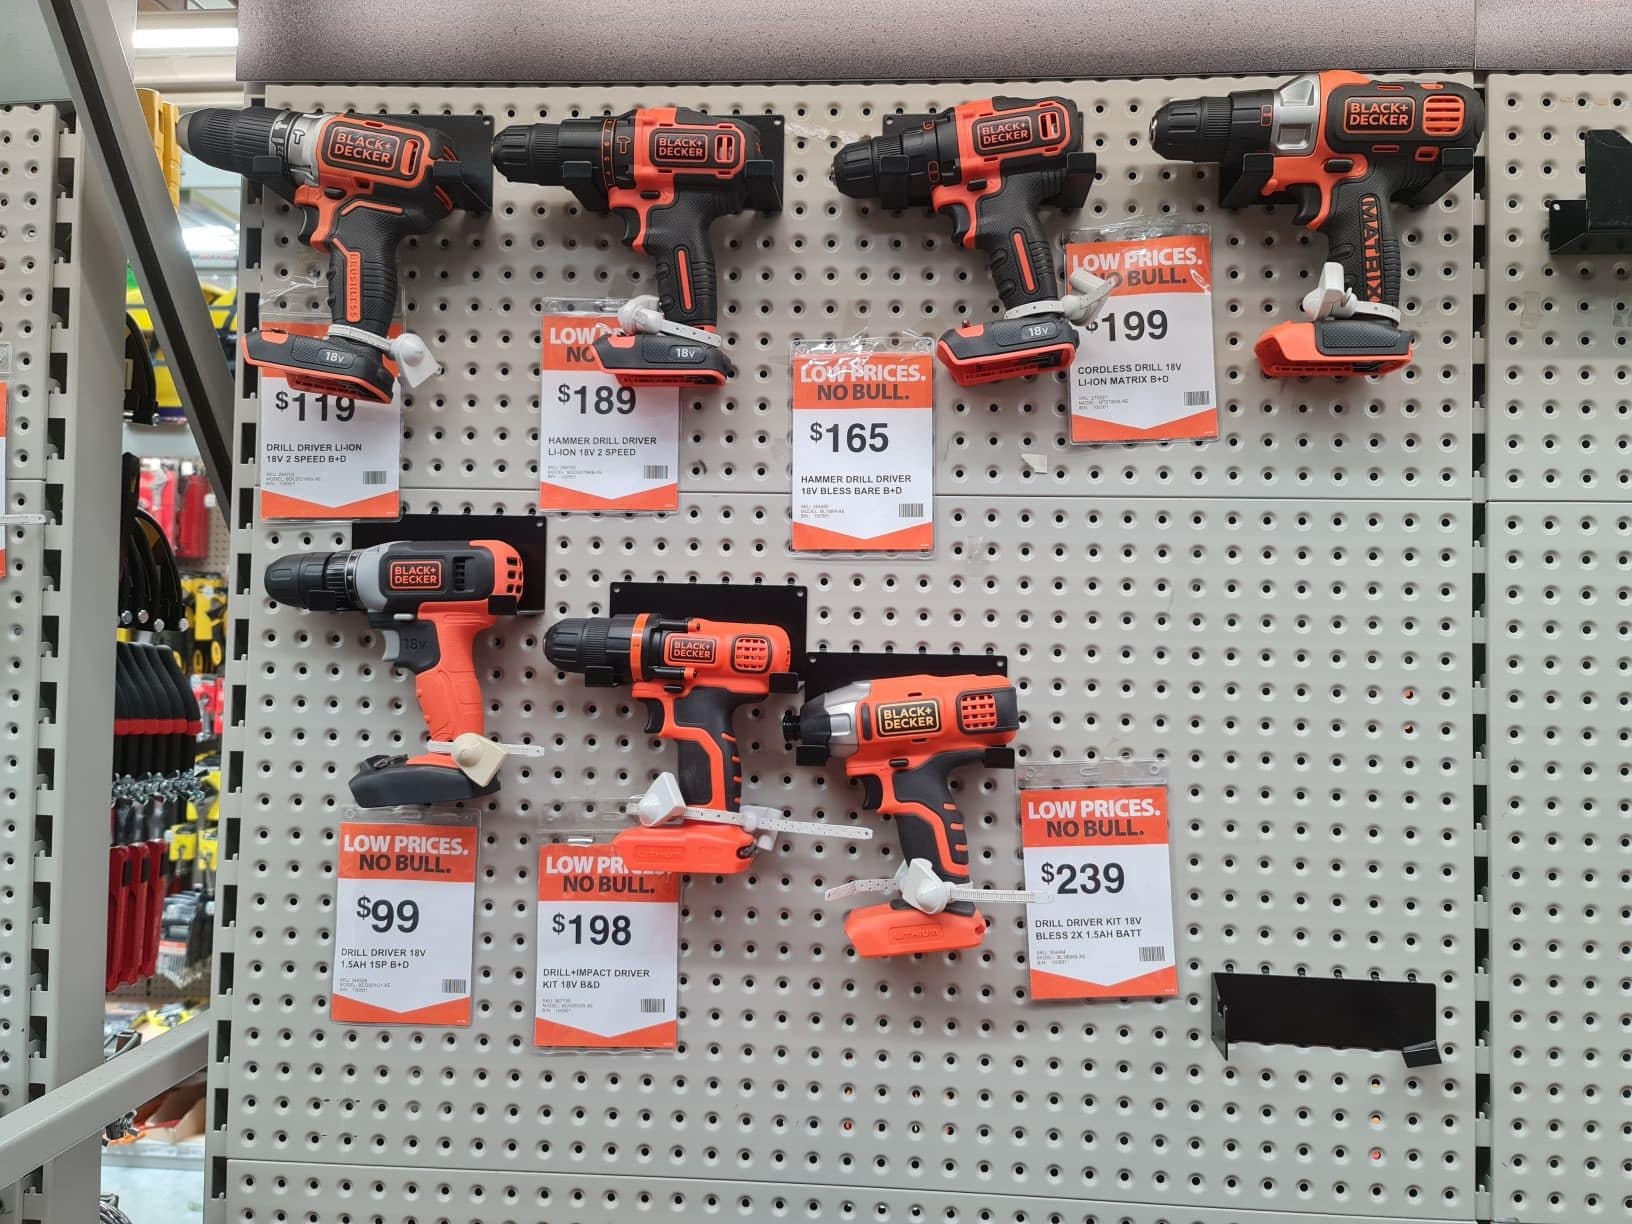
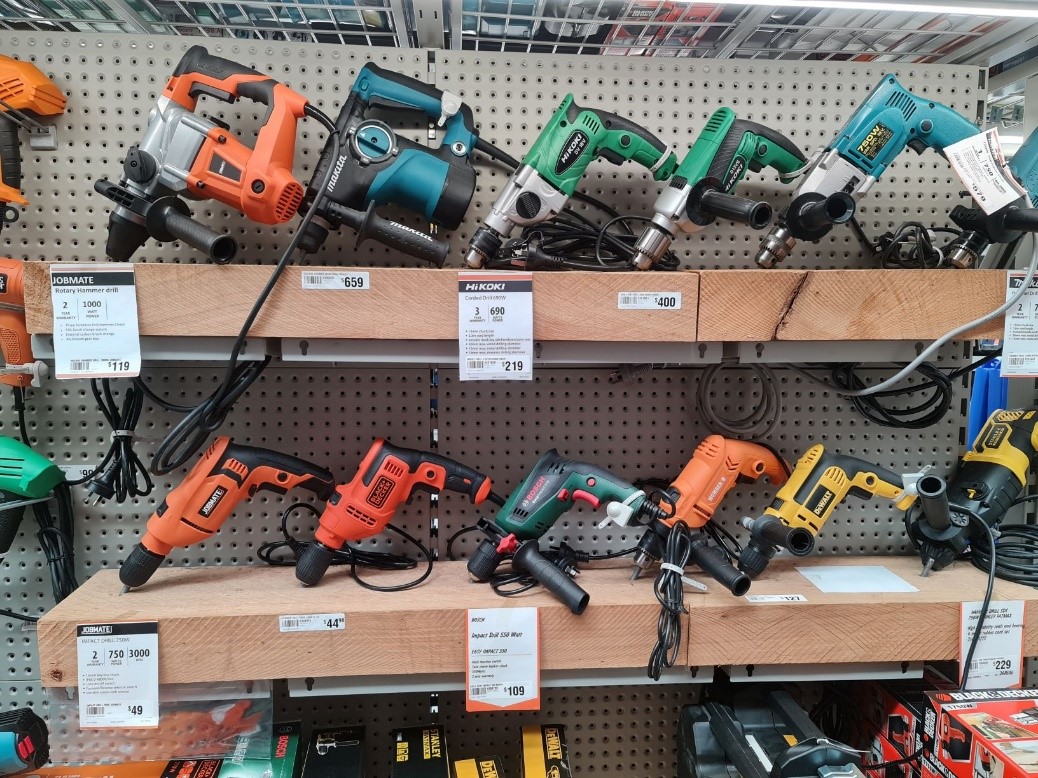
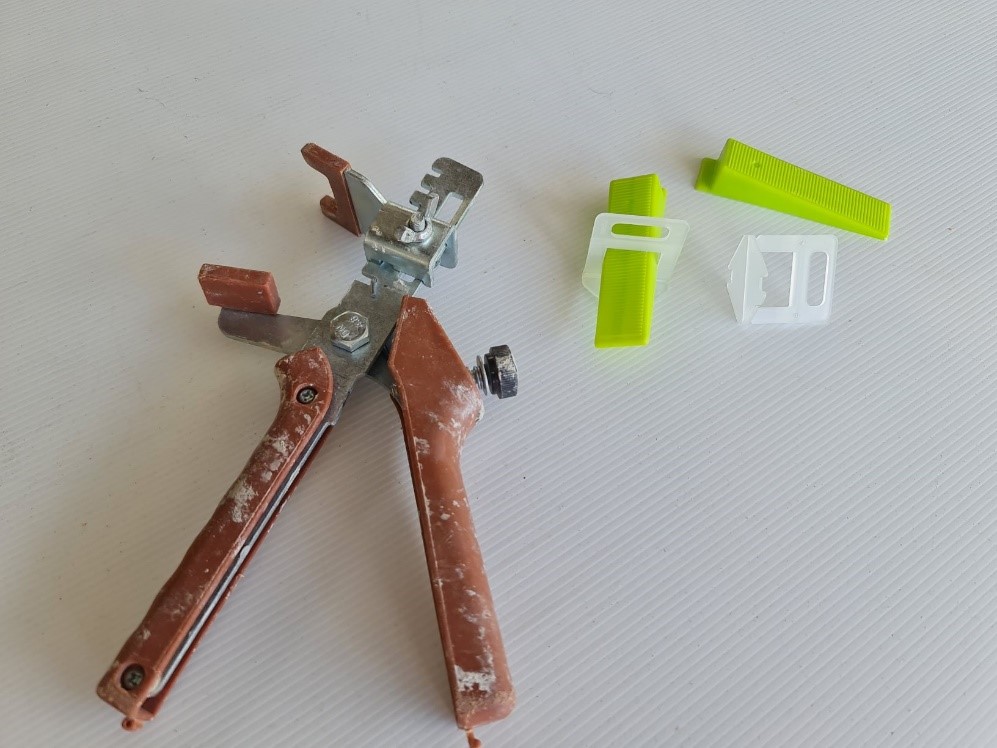
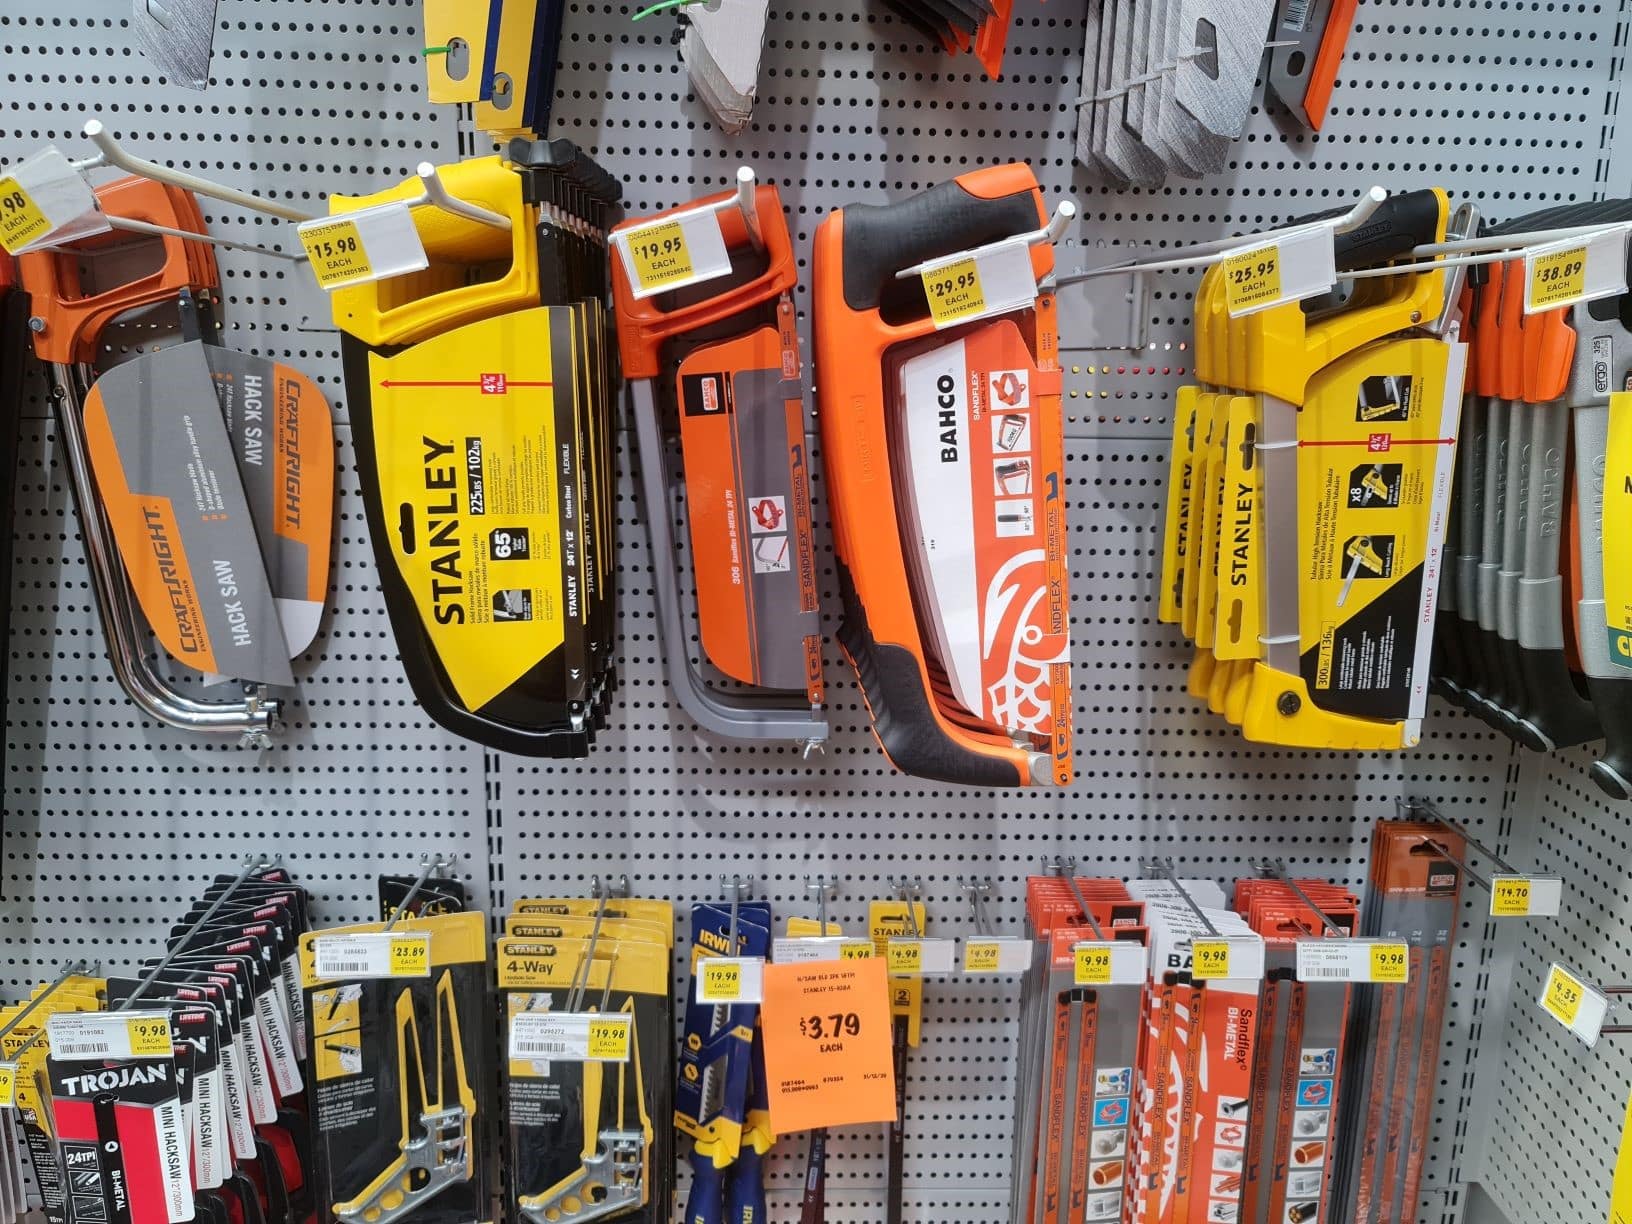
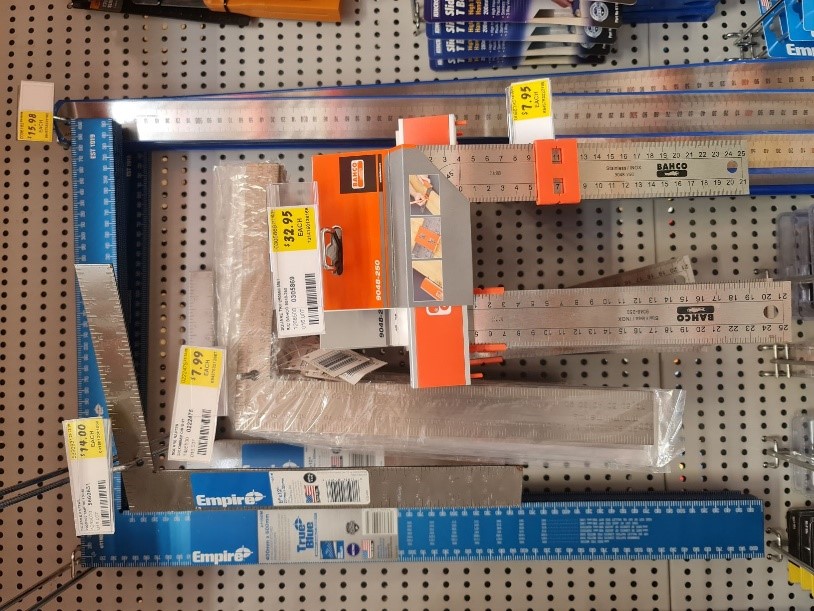
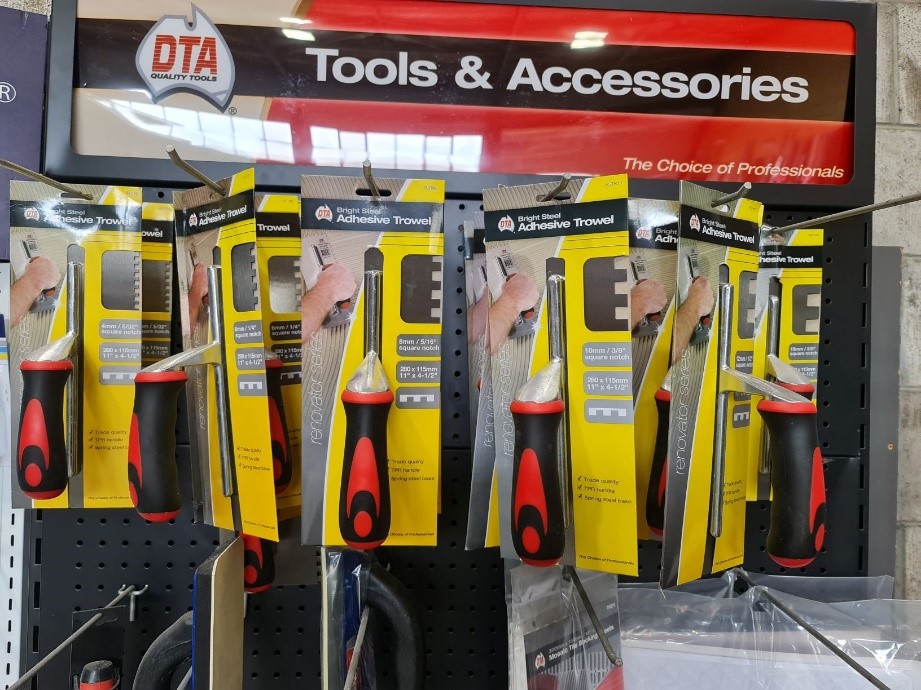
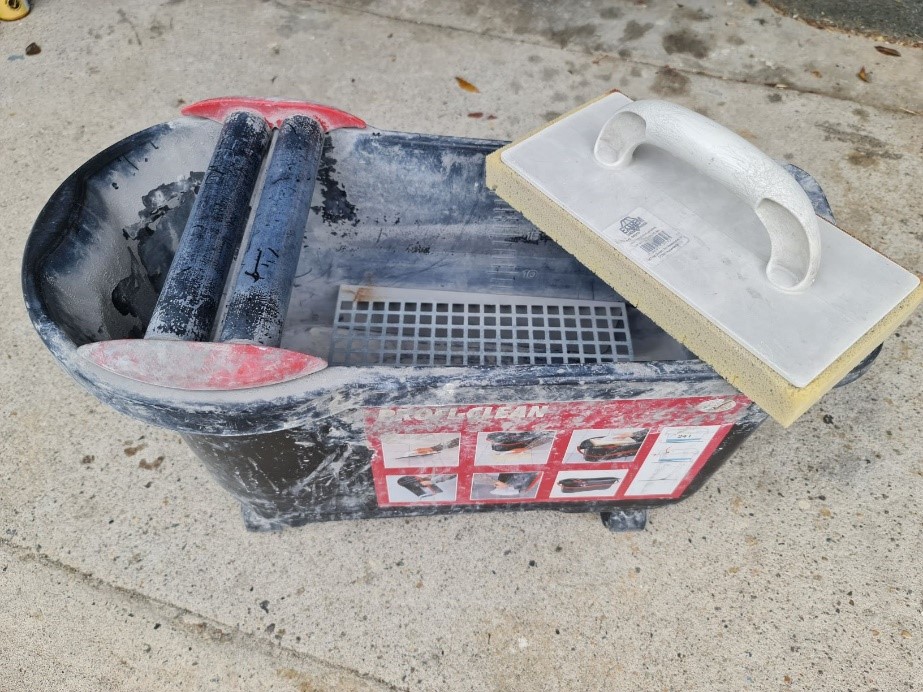
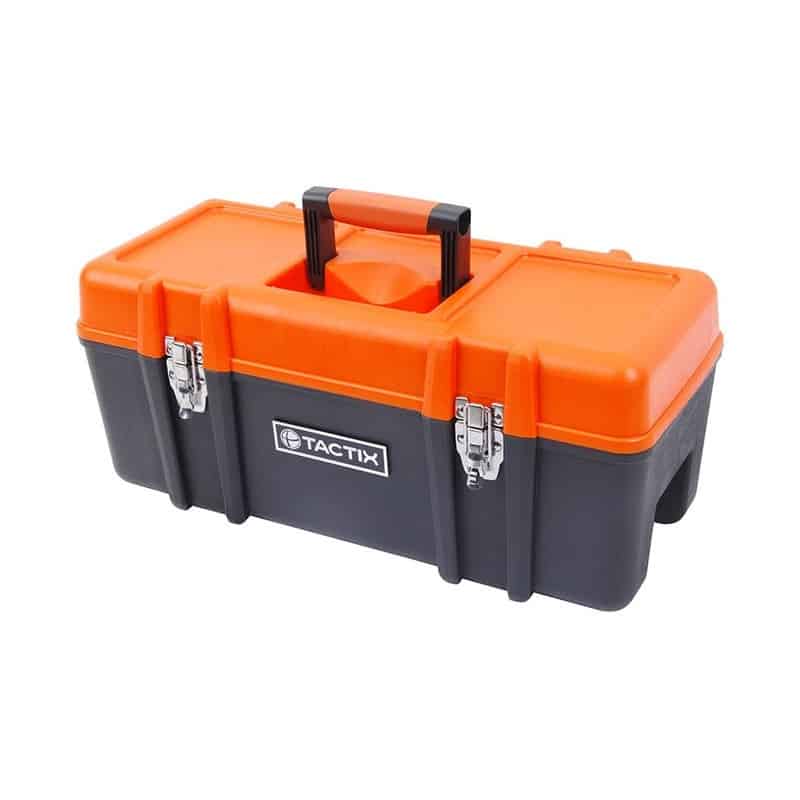
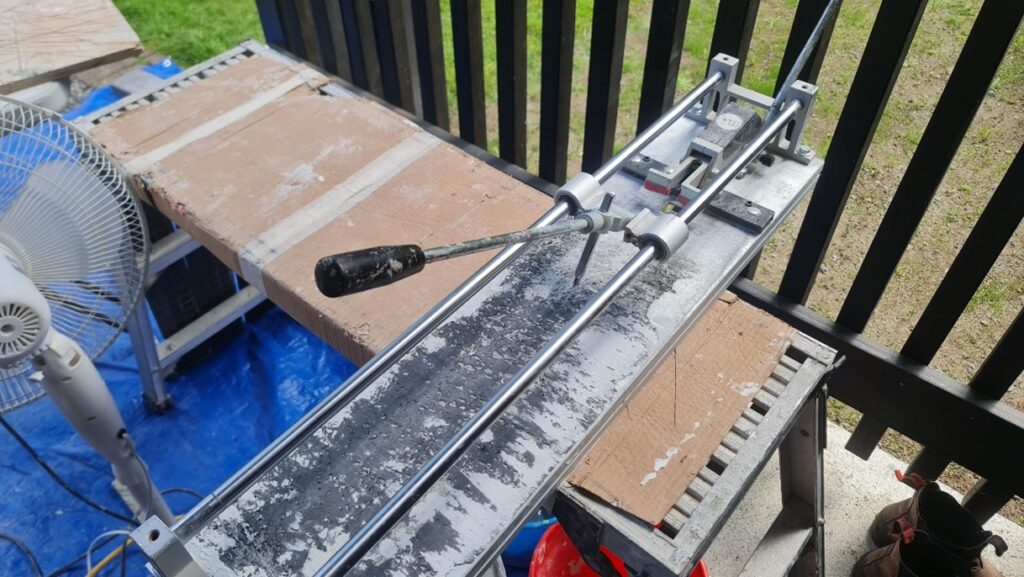
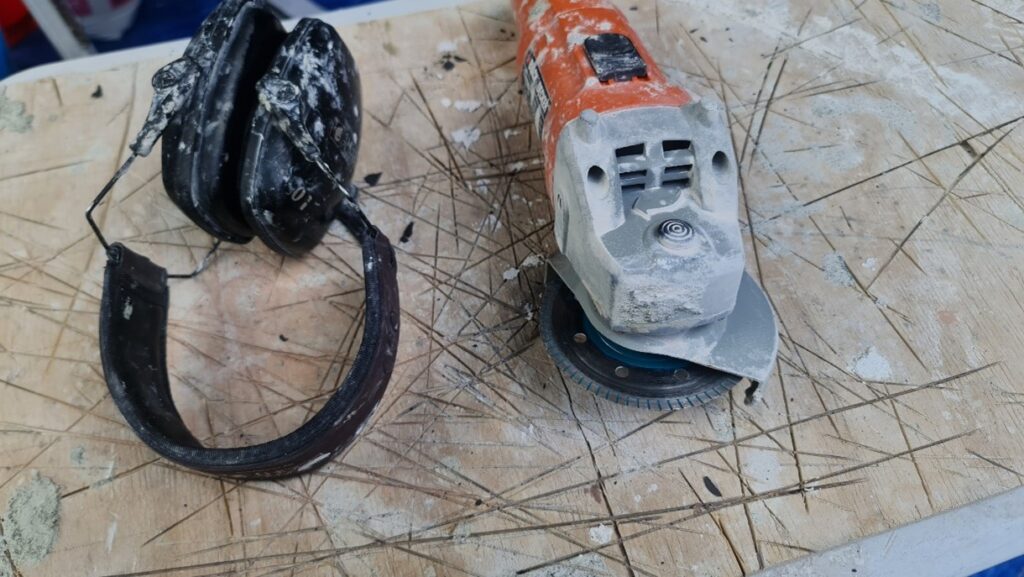
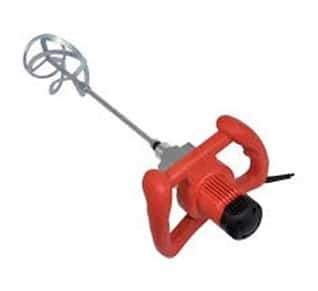
Tools Required
The following list of tools are required to ensure you have the necessary equipment to ensure a competent job. The tools are available in several different variances and brands, from different outlets. Over time you will find the tool brand that best suits you.